ODK in 20 minutes: a complete walk through the core workflows
The goal of this tutorial is to quickly showcase key ODK workflows. It is not geared at explaining individual steps in detail. For a much more detailed tutorial for creating a fresh ODK repo, see here for a tutorial for setting up your first workflow. We recommend to complete this tutorial before attempting this one.
Tutorial
- Background
- Seeding a new ontology repo
- Import workflow
- Integration Testing
- Release workflow
- Customisable documentation
Background
This is some useful background from the ICBO 2022 OBO Tutorial:
Seeding
- Create a new folder.
- Download an example ODK config or create one yourself. Save it in the directory created above.
- Important: in the
cato-odk.yamlchangegithub_orgto your GitHub username. If you dont do this, some ODK features wont work perfectly, like documentation. - Run the ODK seeding script.
- Push the newly created repo to GitHub (for example with GitHub Desktop).
The import workflow

Let us now import planned process:
- Open the term file
src/ontology/imports/cob_terms.txtin your favourite text editor - Add
COB:0000082to the term file (this is theplanned processclass in COB). - From within the
src/ontologydirectory, runsh run.sh make refresh-cob. - Inspect the diff. Rather than importing just one term, it seems that we have important a whole bunch. This is because by default, ODK is using the SLME module extraction technique, which ensures that not only the terms we explicitly request are imported - but all the logically dependent ones as well.
- In
src/ontology/cato-odk.yaml, locate the entry for importingcoband switch it to a different module type:filter. - Run
sh run.sh update_repoto apply the changes. Check out the git diff to theMakefileto convince yourself that the new extraction method has been applied. - Let us refresh the COB import again: From within the
src/ontologydirectory, runsh run.sh make refresh-cob. Convince yourself that now only theplanned processterm is imported.
Integration Testing
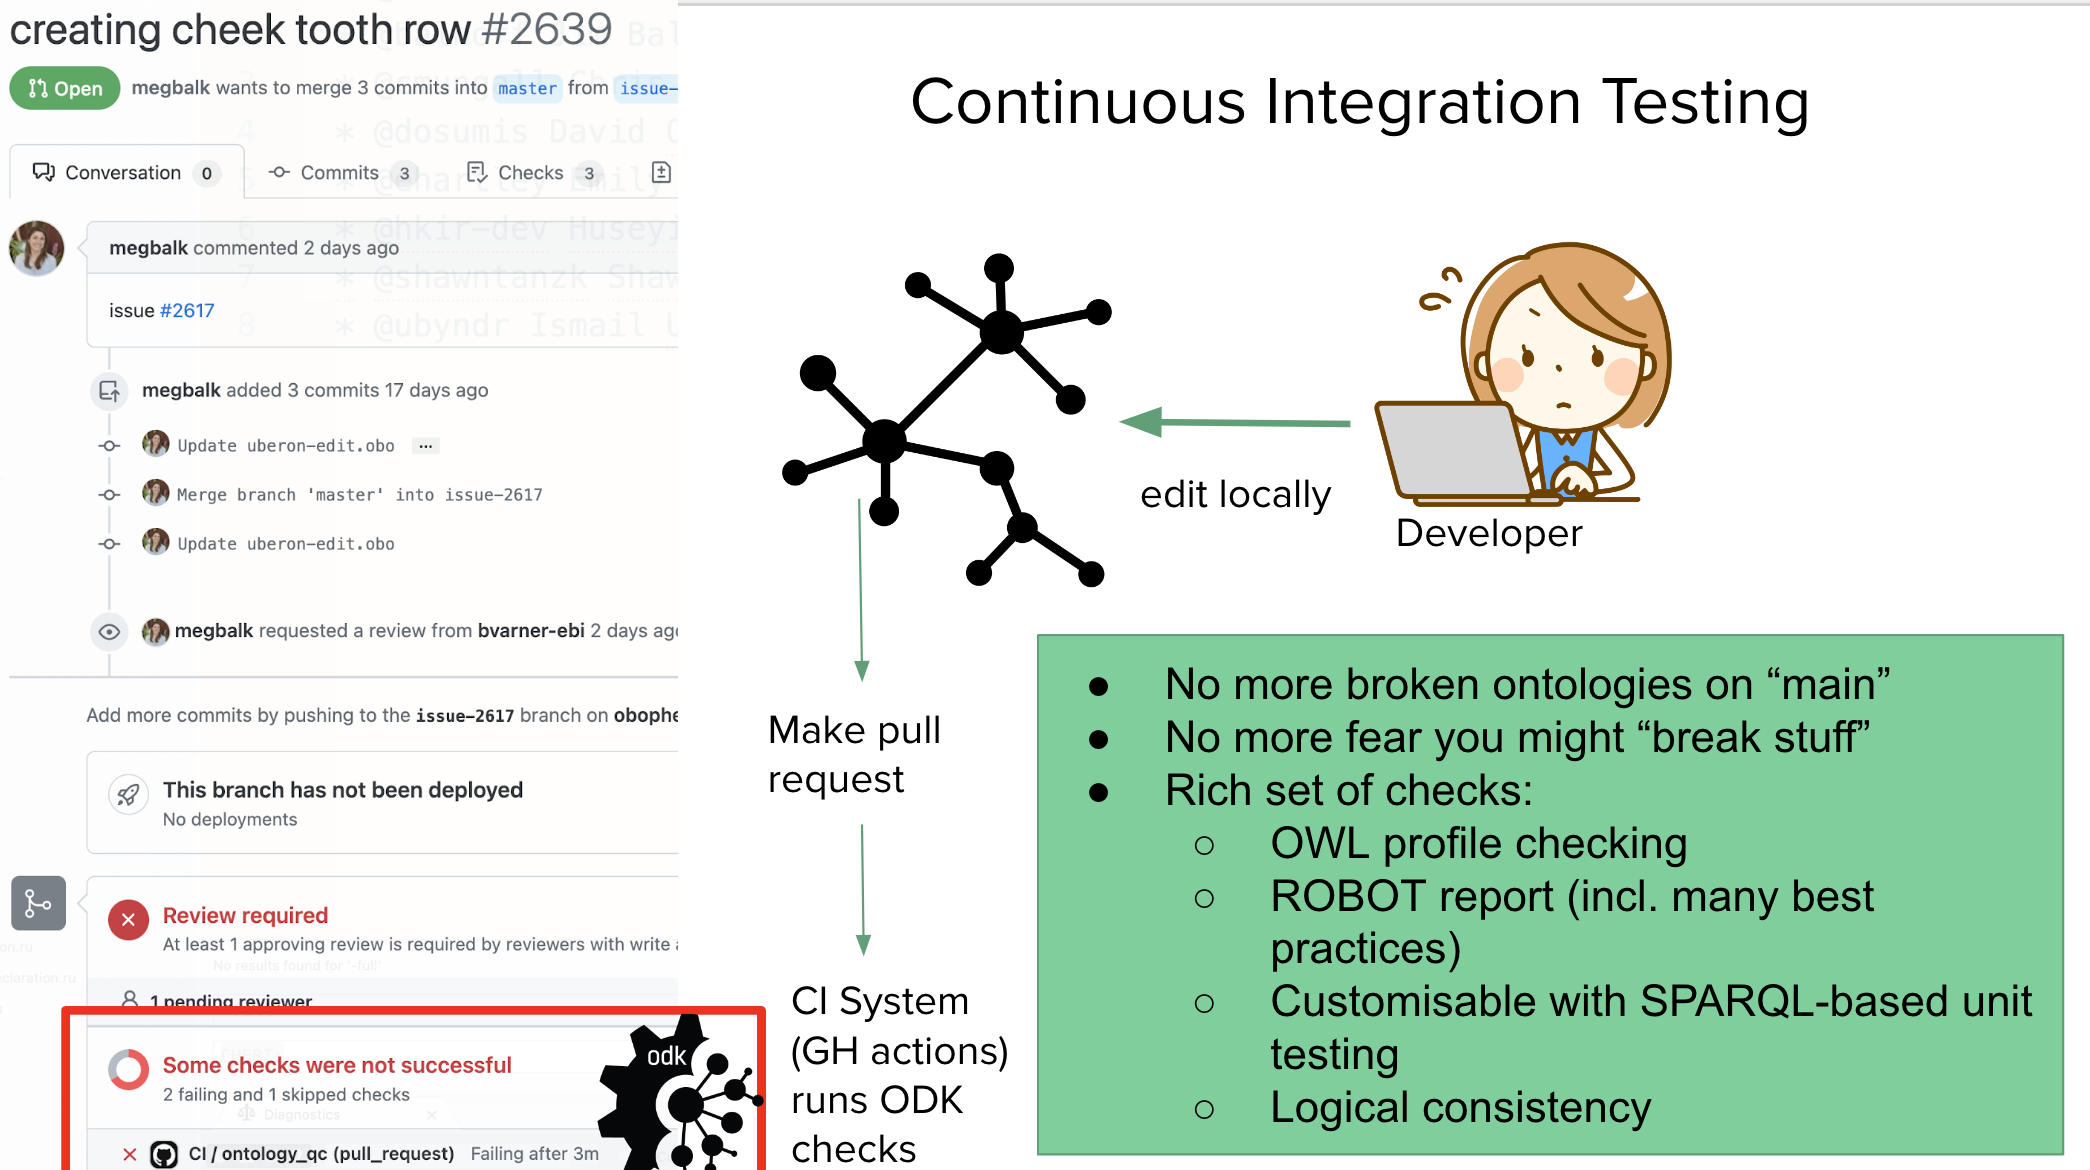
- Switch to a new git branch and commit your changes to
Makefile,cato-odk.yaml,imports/cob_terms.txtandimports/cob_import.owl. - Push the branch and create a Pull Request.
- After a few seconds, the automated testing should start:
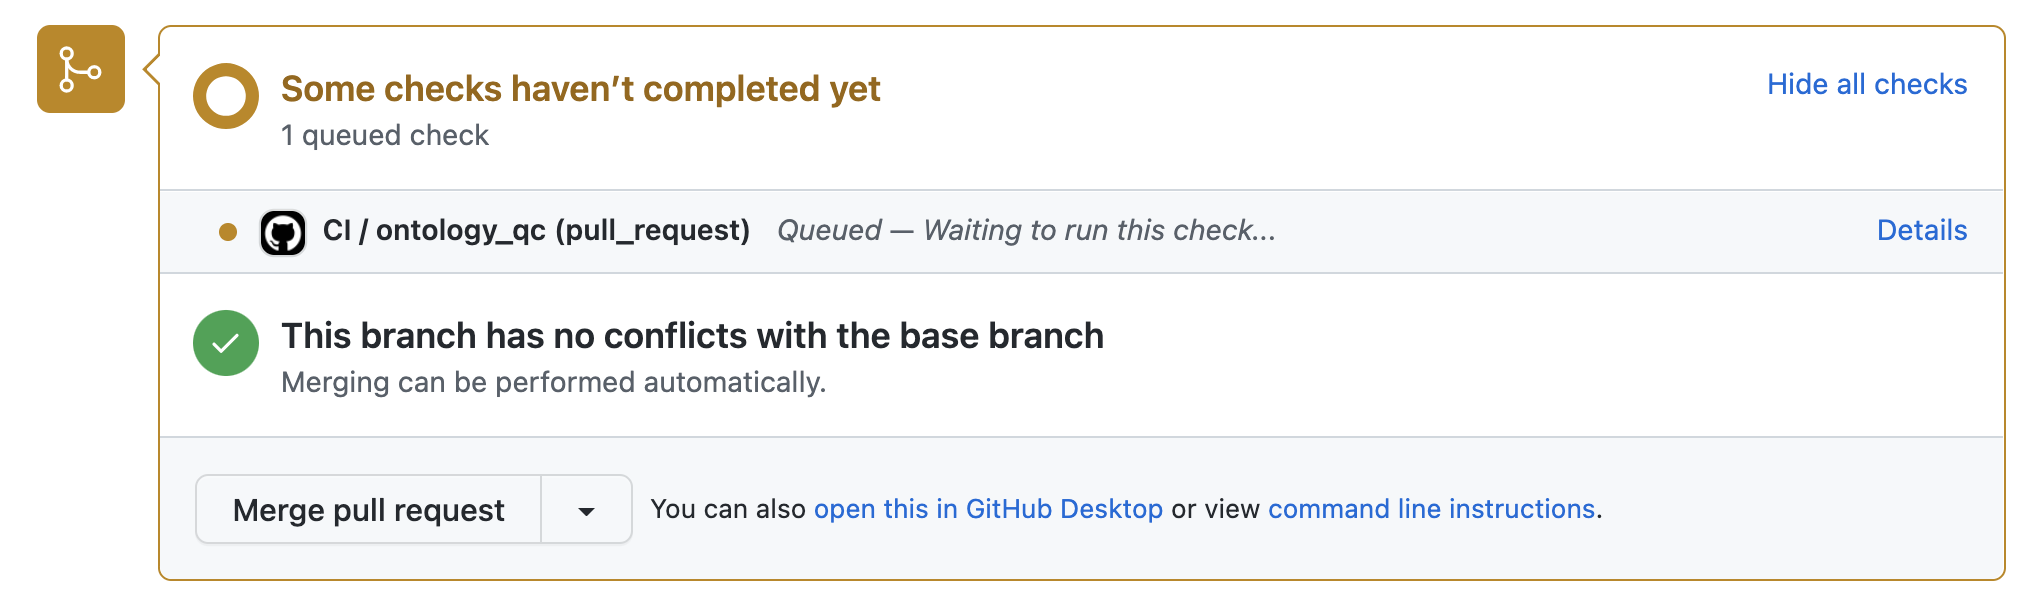 Feel free to click on details to see what is happening!
 - Once the test passes (turns green) the PR is ready to be reviewed. Since this tutorial is for illustration purposes only, we just merge.
The release workflow
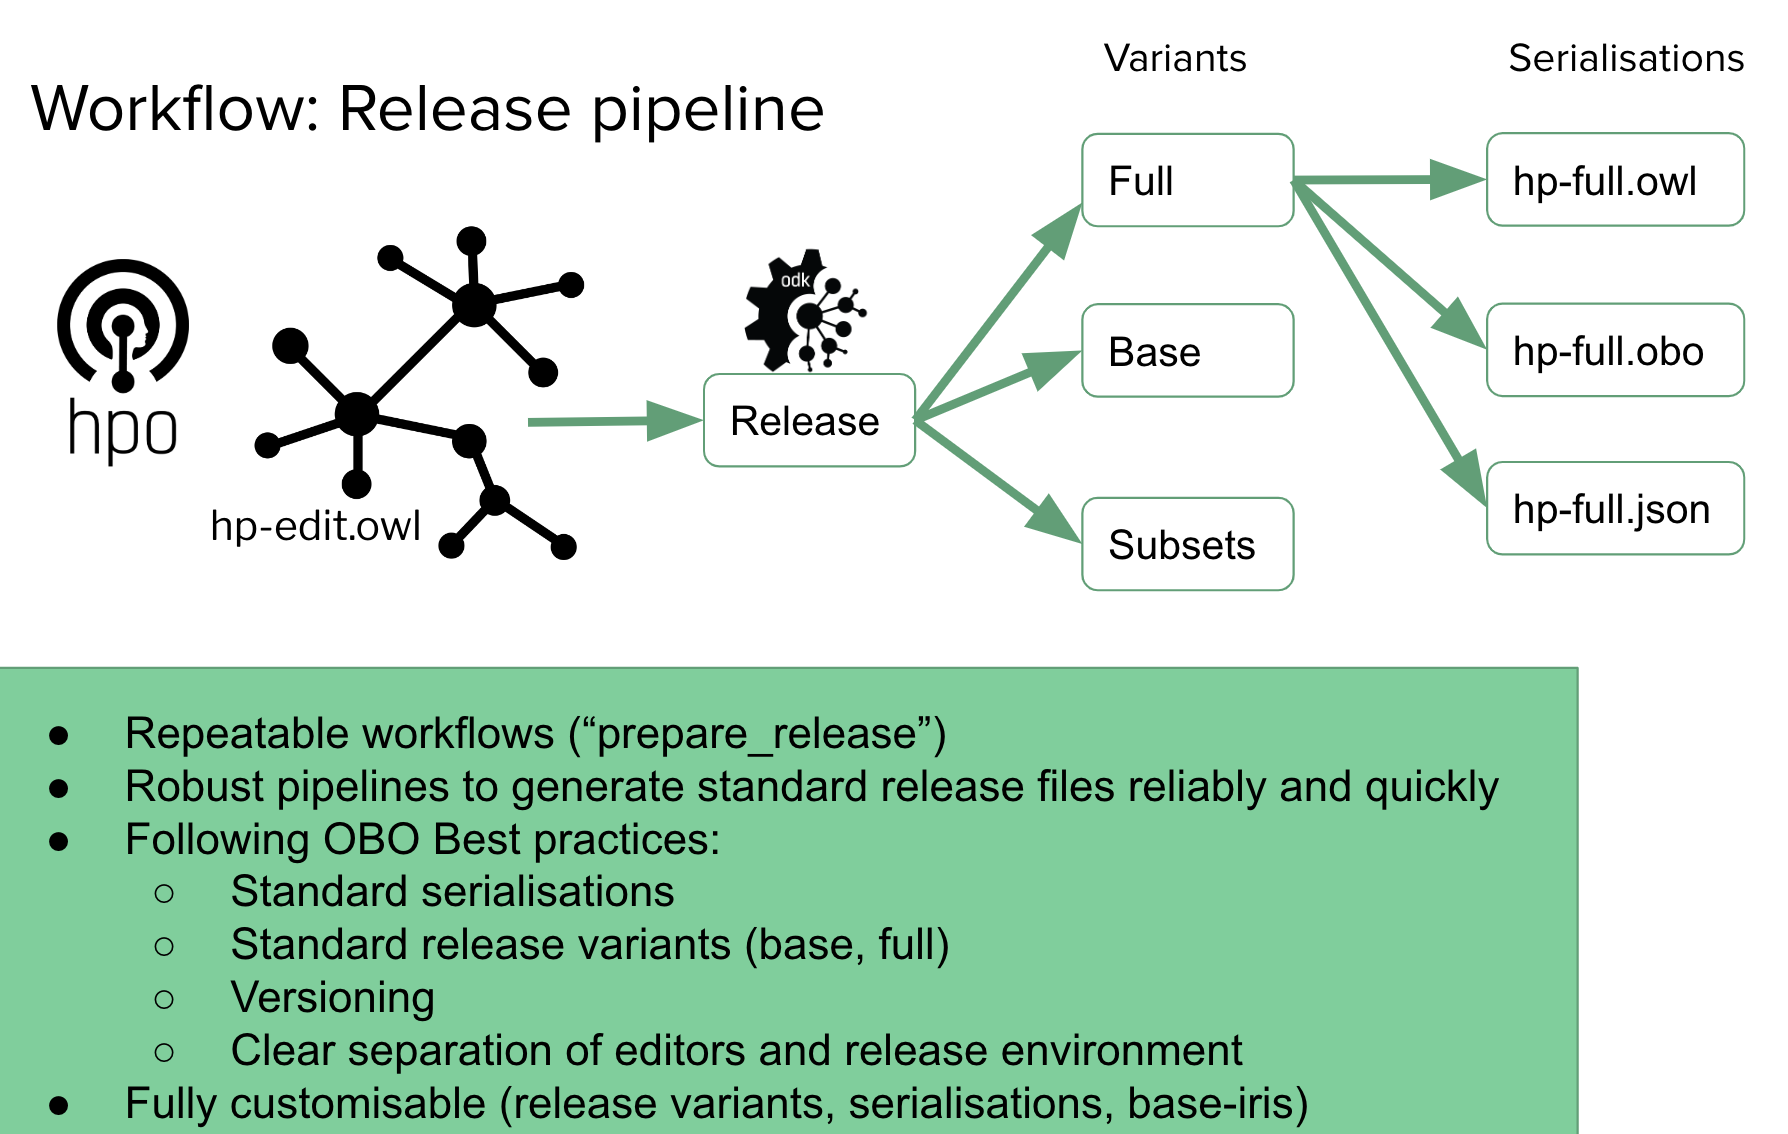
Great, we have done our change, now we are ready to make a release!
- Switch to the
mainbranch ingit. - Make sure you you pull all changes (
git pull). - In
src/ontologyexecute the release workflow:sh run.sh make prepare_release_fast(we are usingfastrelease here which skips refreshing imports again - we just did that). - Inspect the changes. You should see that the
planned processclass has been added to all ontology release artefacts. - Create a branch and commit the changes. Push. Create pull request. Request review (skipped in this tutorial). Wait for QC to pass. Merge.
- On GitHub (repository front page), click on "Create a new release".
- In the next Window in the "Choose a tag" field select
v2022-09-01. Note the leadingv. Select the correct date (the date you made the release,YYYY-MM-dd). Fill in all the other form elements as you see fit. ClickPublish release.
Customisable documentation
With our ODK setup, we also have a completely customisable documentation system installed. We just need to do a tiny change to the GitHub pages settings:
- On your GitHub repo page, click on "Settings".
- In the menu on the left, click on "Pages".
- On the right, under
Build and deploymentselectDeploy from branch. - Underneath, select
gg-pagesas the branch (this is where ODK deploys to), and/(root)as the directory.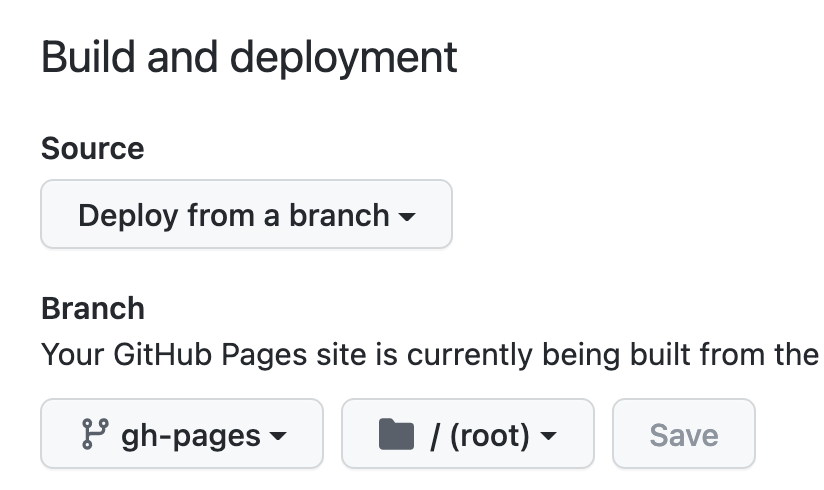
- Hit
Save. - Wait for about 4 minutes for the site to be deployed (you can click on
Actionsin the main menu to follow the build process). - Go back to the
Pagessection inSettings. You should see a buttonVisit site. Click on it. If everything went correctly, you should see your new page: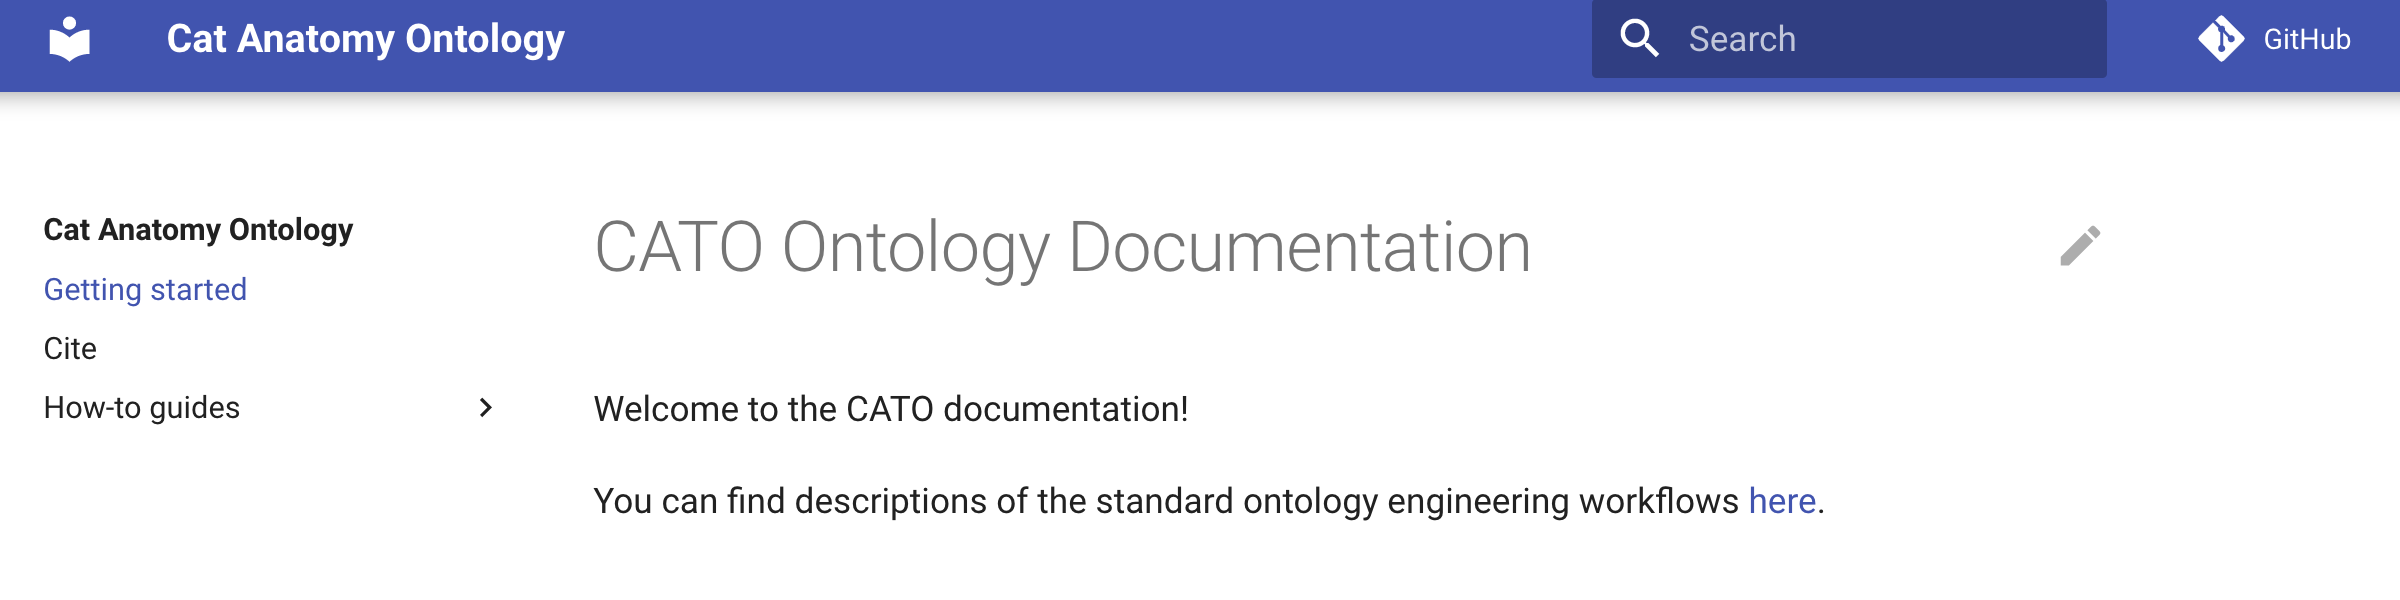
- Let's make a quick change: On the main page, click on the pen in the top right corner (this only works if you have correctly configured your
github_org, see seeding). If you have not configured your repo, go to the GitHub front page of your repo, go into thedocsdirectory, click onindex.mdand edit it from here. Make a small random edit. - Commit the change straight to
mainor do it properly, create a branch, PR, ask for reviews, merge. - After the ODK updates your site, you should be able to see your changes reflected on the life site!
Summary
That's it! In about 20 minutes, we